-
Potting on Chillies Step 1
Unclip your Chilli Packaging.

Carefully unclip your plug or plant packaging on a flat surface, making a note of the plug position identification letters A-R on the base of the packaging, or the front of your plant packaging.
These letters correspond to the list of plugs or plants on the packing sheet included with your order.
Stand Plugs up in packaging for 24 hours to recover in light, warm location before potting on. Folded leaves (like wings of a butterfly) will expand given time. -
Potting Mixture Step 2
Blend Your Chilli Potting Mixture

The ideal mix is 50% Coir*, 50% Compost with a few handfuls of Vermiculite or Perlite thrown in for good measure. The Coir (and Vermiculite) absorb any excess water and give it back as needed.
If you can’t access Coir or Vermiculite, use a very free draining compost, even adding a few handfuls of sharp sand as a last resort.
* Coir is made from coconut husks. Make sure you get a good brand, as some might have traces of salt from sea washing. -
Pot Sizes Step 3
Ideal Pot Sizes for Plugs & Plants


The ideal size pot for your plugs is around 9cm, but a small plastic cup is also fine (make a few drainage holes in the bottom). Plants should be be potted into an intermediary 1 litre pot, or can go straight into their final positions if you have a warm enough space.
Final pot size should be minimum seven litres, max 20 litres; the larger the pot size, the bigger your plants will get so judge what space you have available.
Fill up the base of your pot and hold the plug or plant in place while you add your potting mix around it. You do not need to remove the meshing from the outside of the plug, roots will push straight through. Fill the pot loosely with the potting compost mix. -
Firming Down Step 4
Firming Down Plugs or Plants
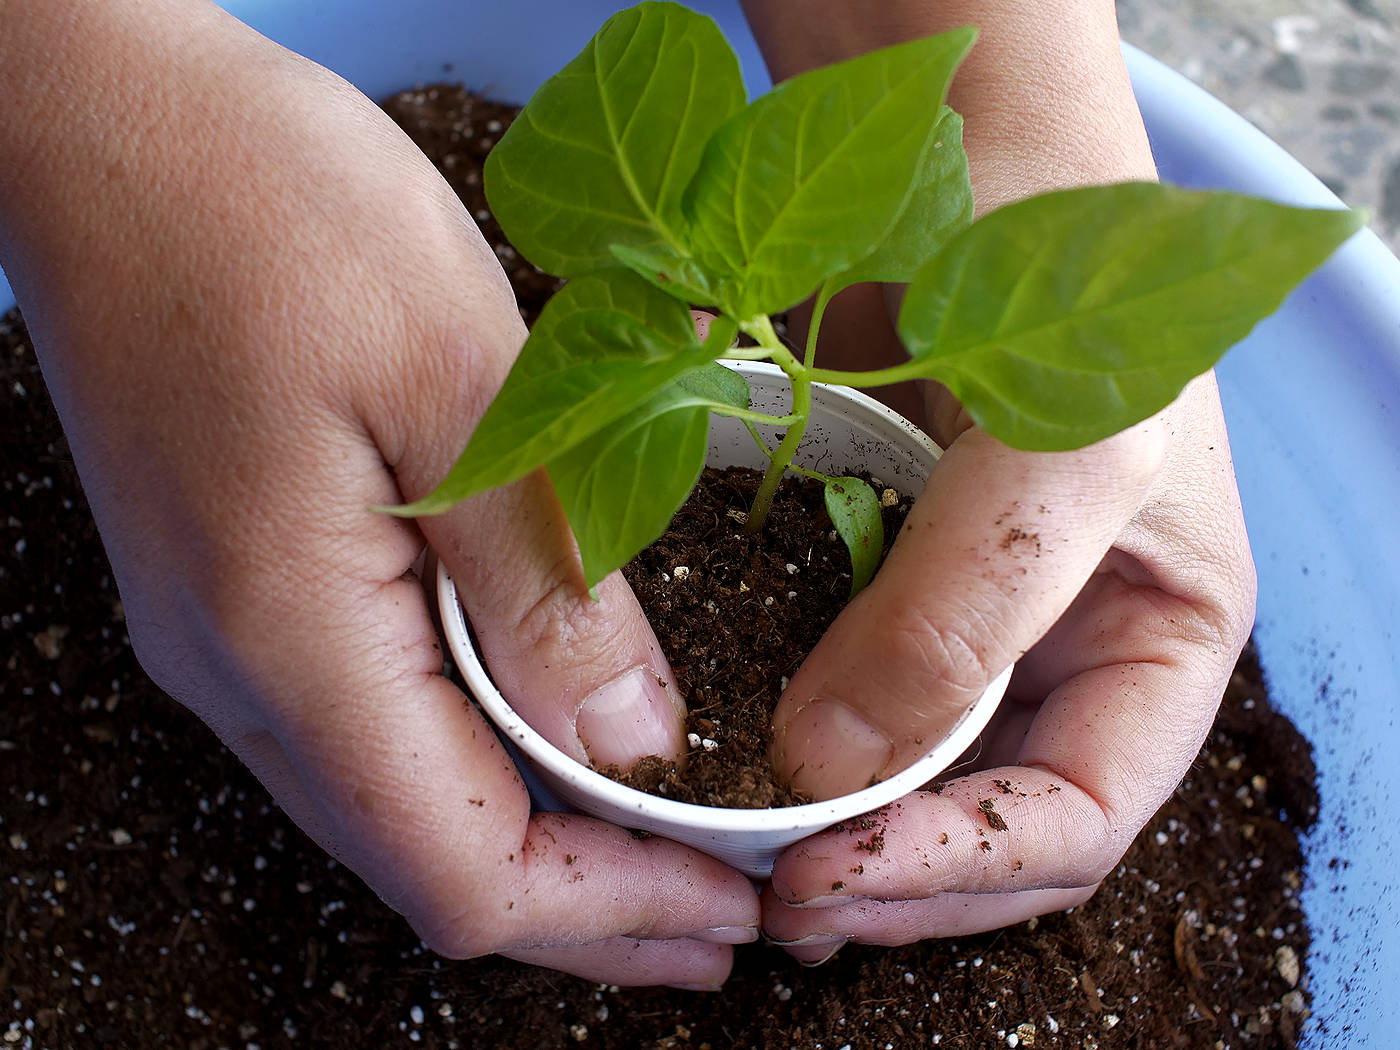
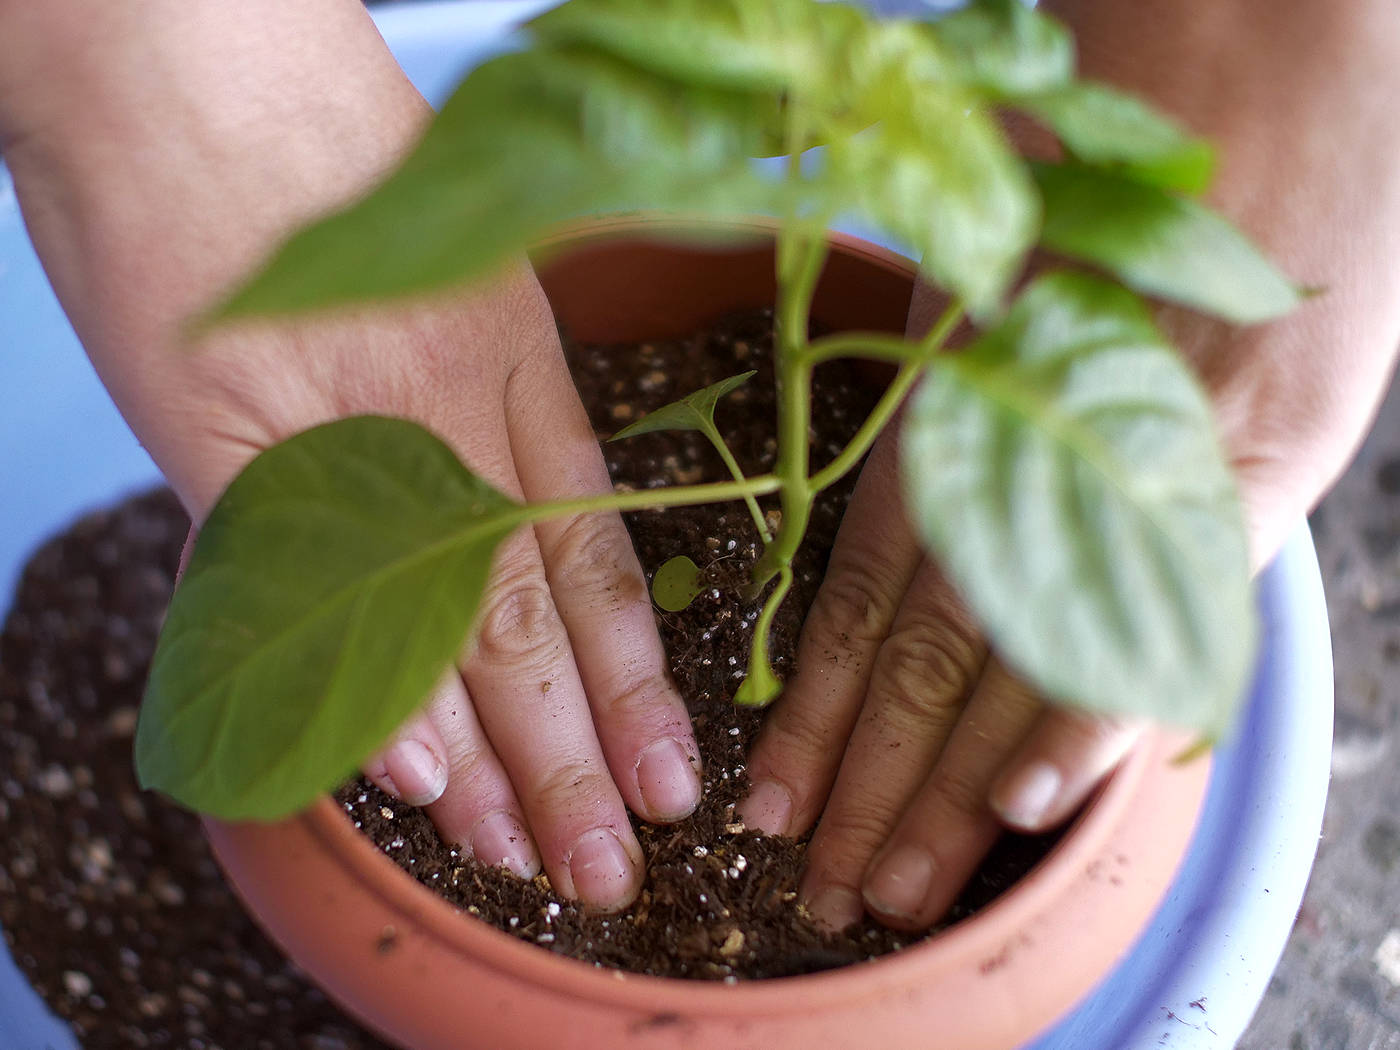
Firm down the potting mix with your fingers and thumbs so that it fills the pot to around 1-2cm below the. This will allow you to water without making a mess.
-
Labelling & Watering Step 5
Don't Forget to Label & Water
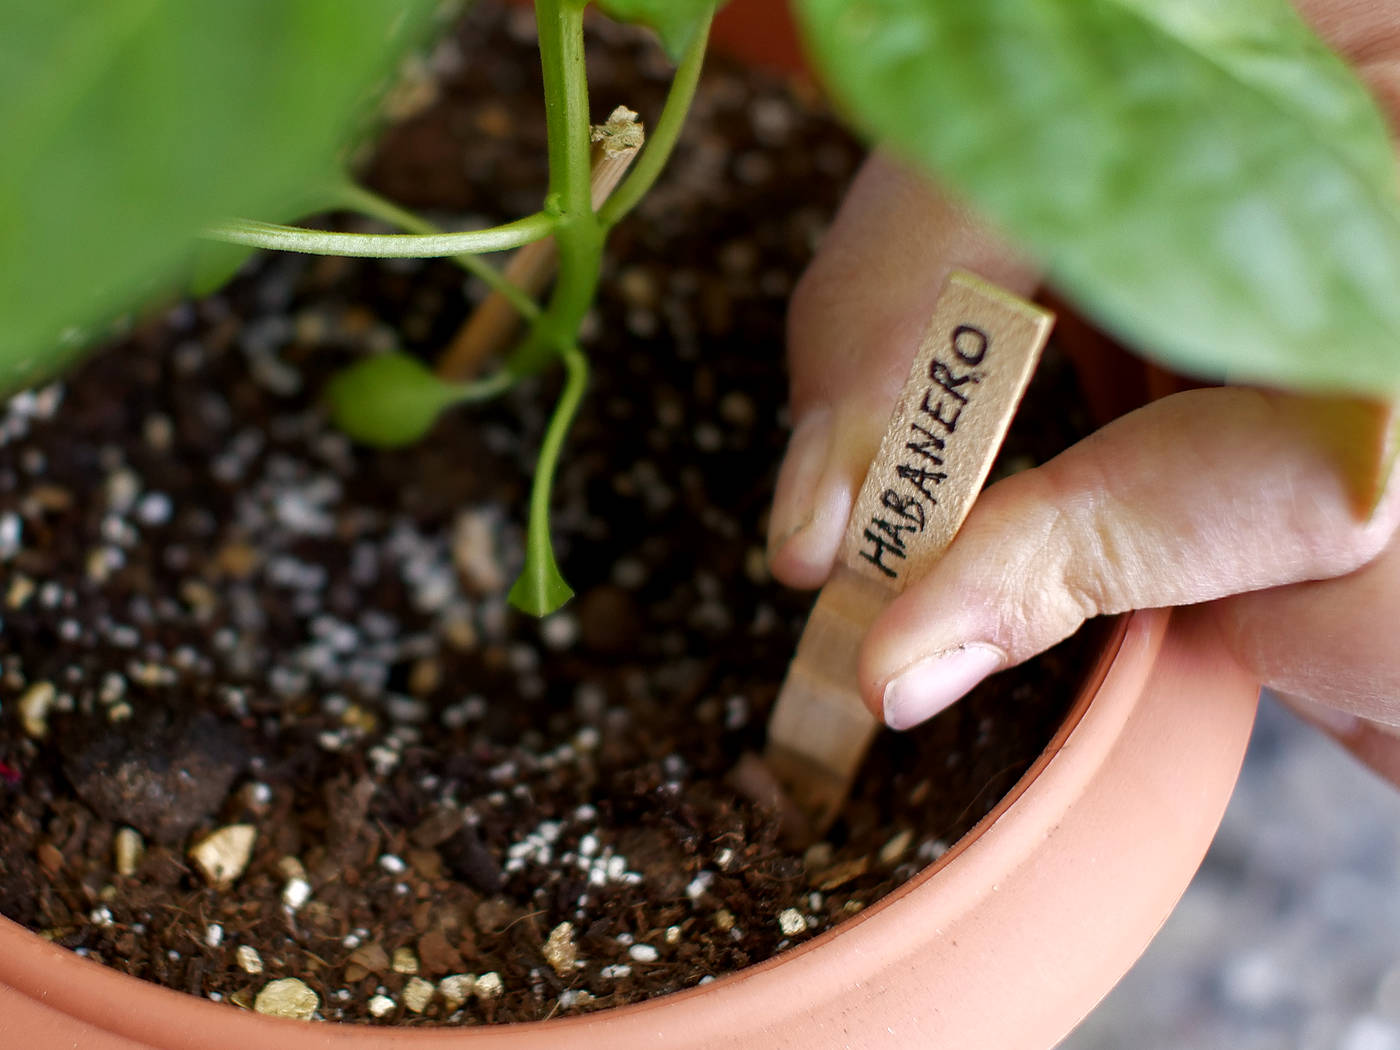

Label your pots and water well. You may find your chillies wilt a little after being potted on but they will pick up again in a few hours. Leave out of the sun if they do so.
Keep in a warm, light place, chillies will die below 5 degrees Celsius but will not thrive unless in quite a warm environment. A warm windowsill, heated greenhouse or conservatory is ideal early in the season.
-
Potted On
All Potted on Successfully
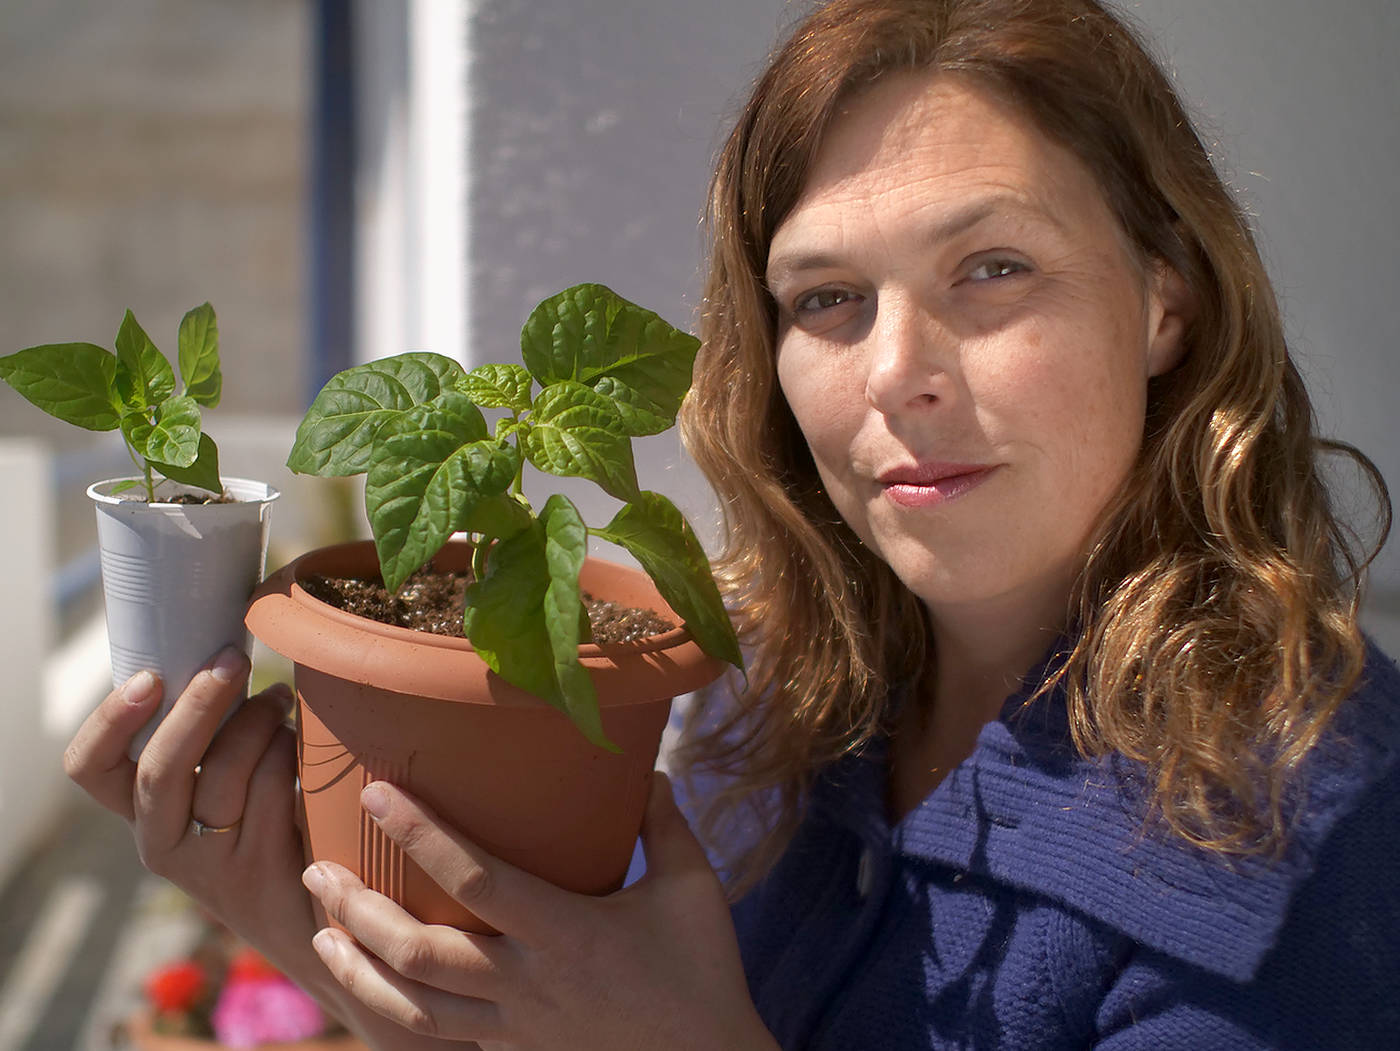
All done and dusted. Now they just need to be looked after carefully. Start your chilli plugs and plants off with World of Chillies Grow Kit.
Potting on Chilli Plugs & Plants
Potting on Chilli Plugs & Plants
a simple step by step guide

Growing tips from World of Chillies

Chilli Problems
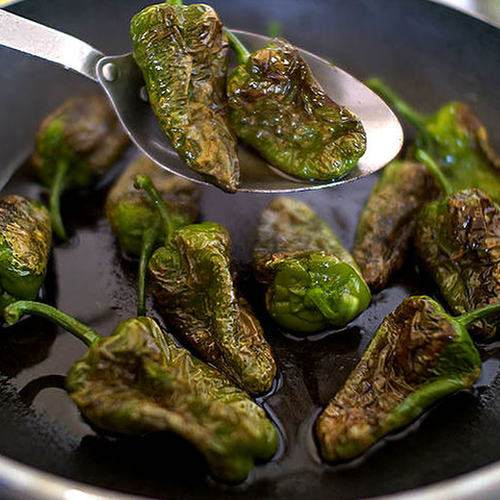
Chilli Blogs
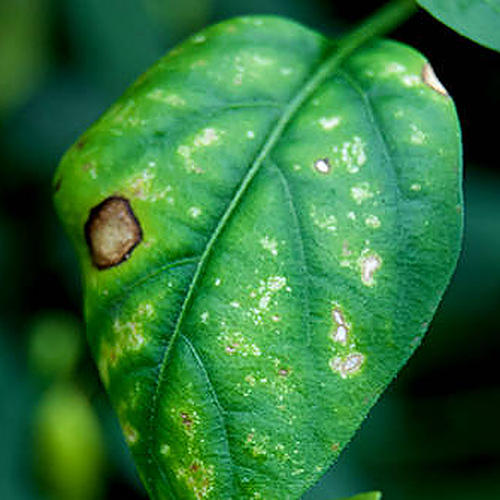
Chilli Nutrients
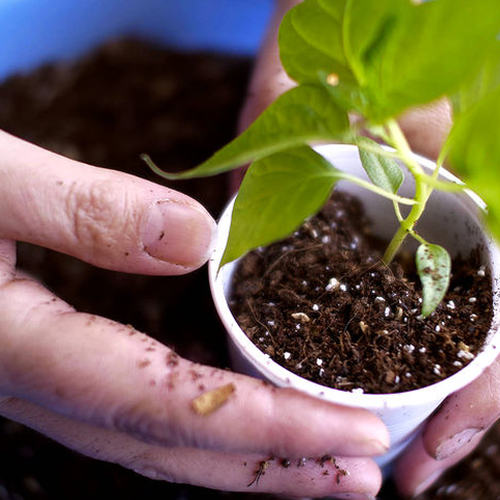
Potting On Chillies
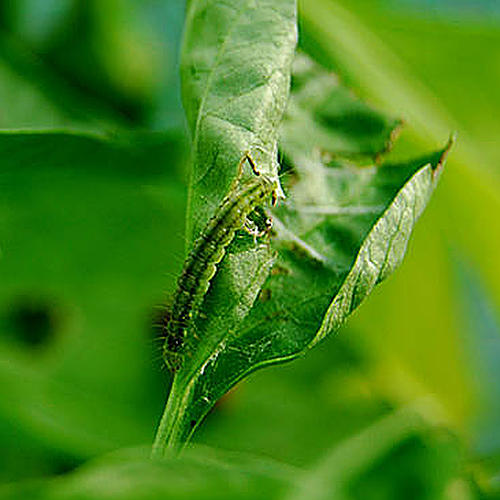
Chilli Pests
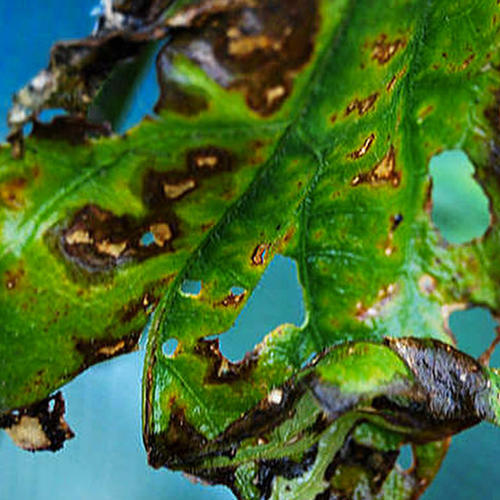
Chilli Diseases
World of Chillies was set up by Sarah Hunt in 2011 to promote chilli growing and the enjoyment of everything hot and spicy.
UK Company No. 07860204.
VAT reg. 223126942
Hover over the hotspots for more info